

Get and install the visual
Add Ataytis Vega Studio from Microsoft Marketplace to Power BI Desktop, verify the installation, and understand the options available to managed organisations.
Before you start
- Use a current supported version of Power BI Desktop and sign in with the account you use for report development.
- Confirm that your organisation permits visuals from Microsoft Marketplace. Tenant administrators can restrict access to AppSource or custom visuals.
- Make sure you can edit the report and add visuals to its canvas.
- Ataytis Vega Studio is free; no AtaytisTech checkout, licence key, or Pro subscription is required.
Install from Microsoft Marketplace
Open the visual gallery
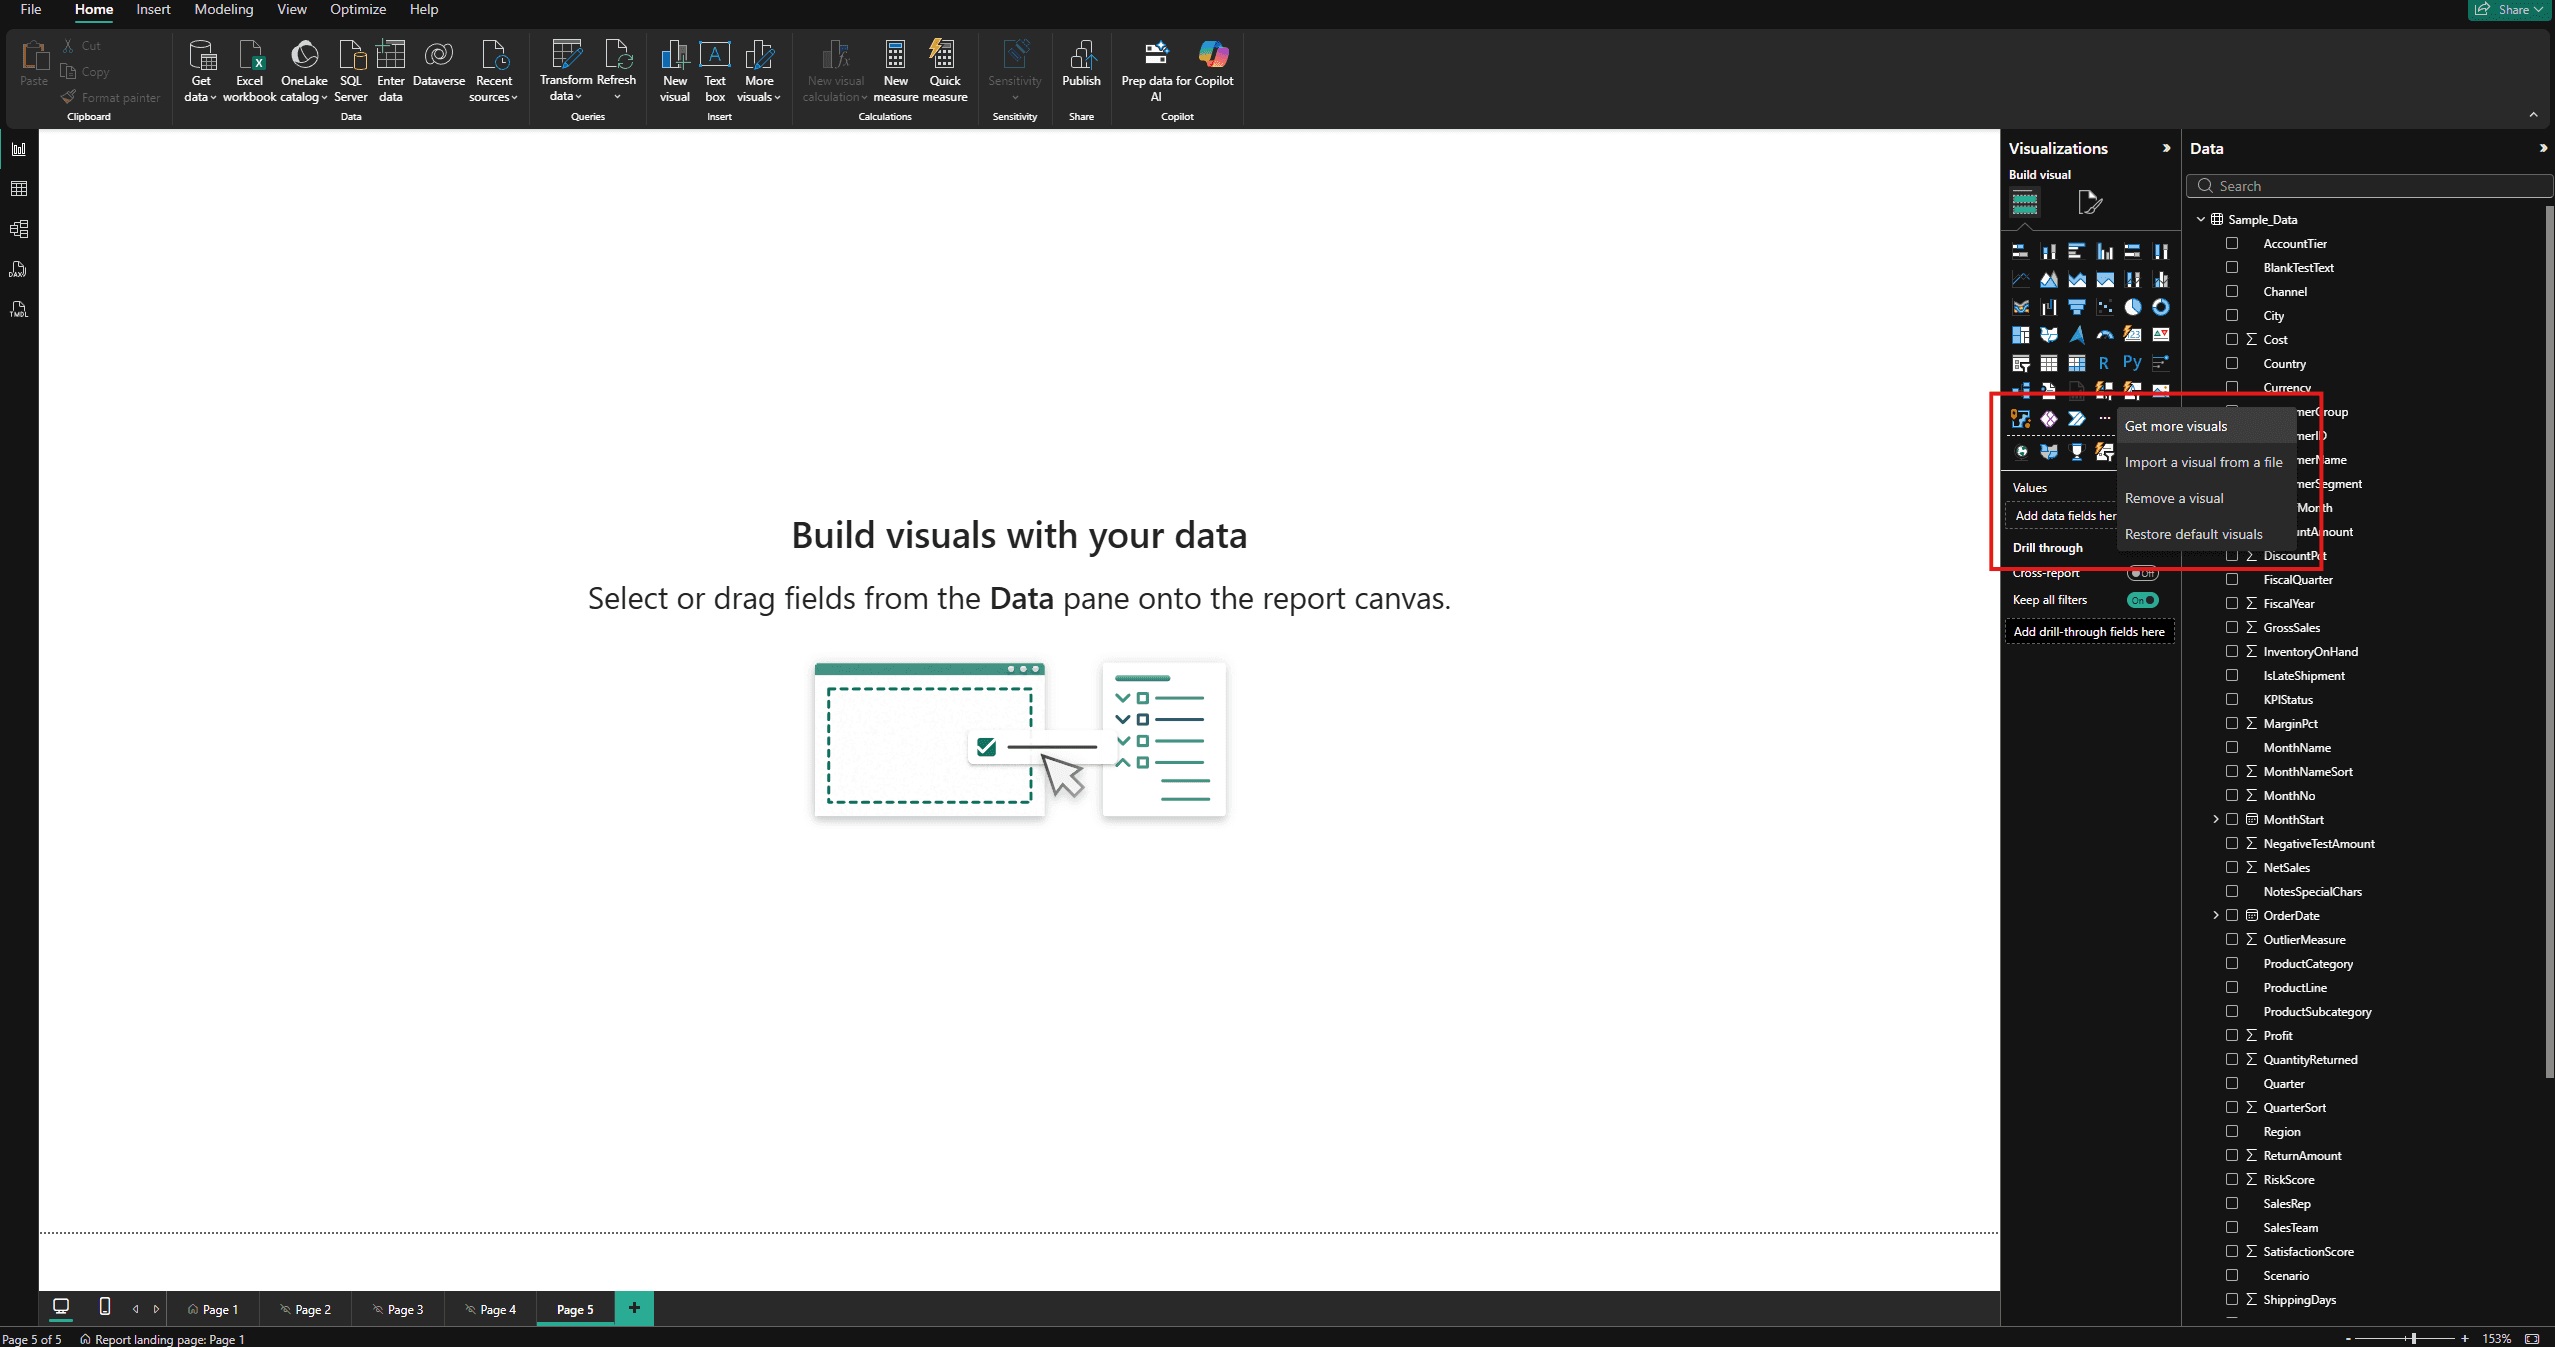
In Power BI Desktop, open the Visualizations pane and choose the option to get more visuals. Depending on your Power BI version, this may appear under an ellipsis menu or as Get more visuals.
Open Microsoft Marketplace
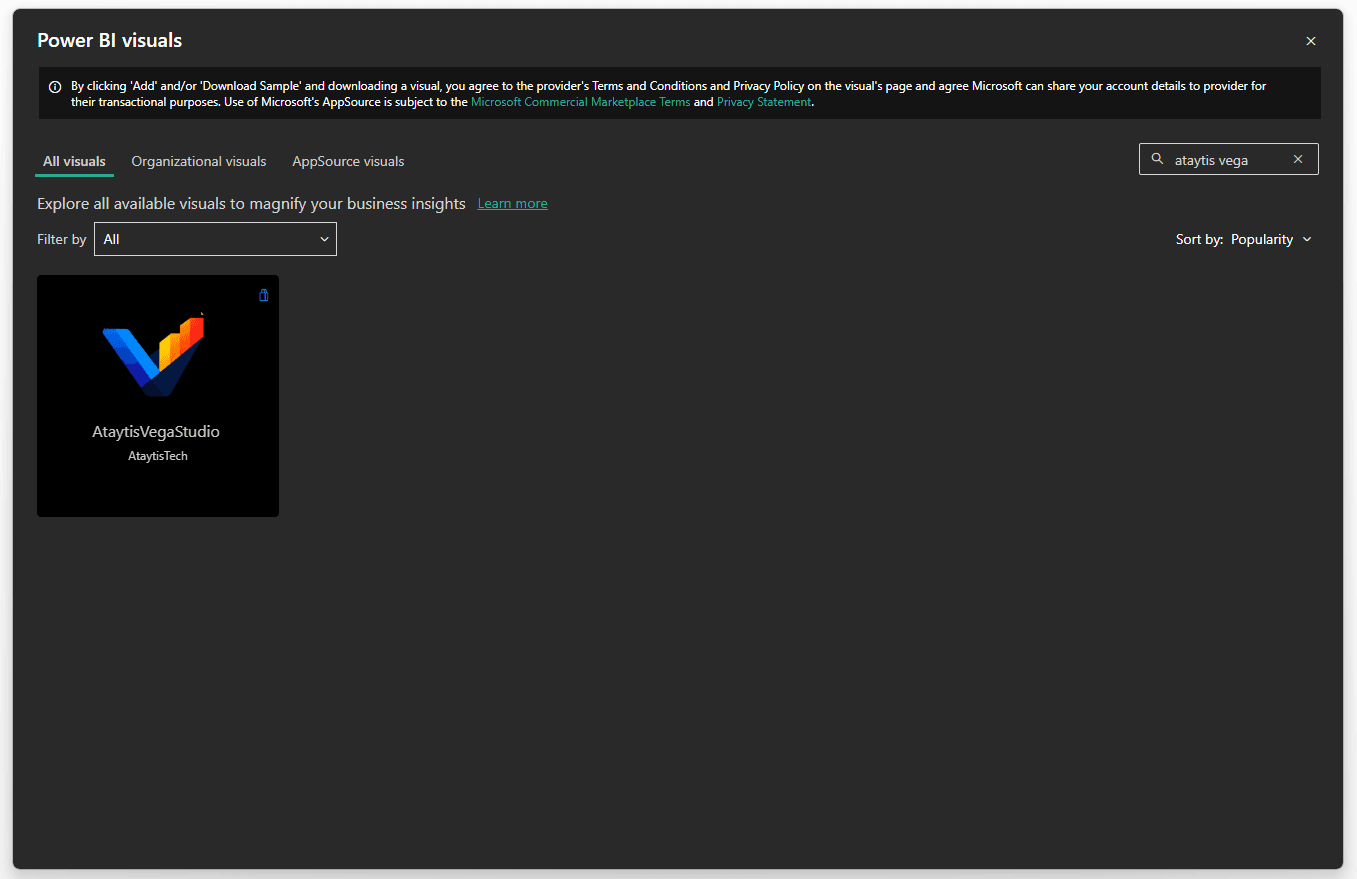
Choose the Microsoft Marketplace or AppSource view so that Power BI searches published visuals rather than local visual files.
Search for Ataytis Vega Studio
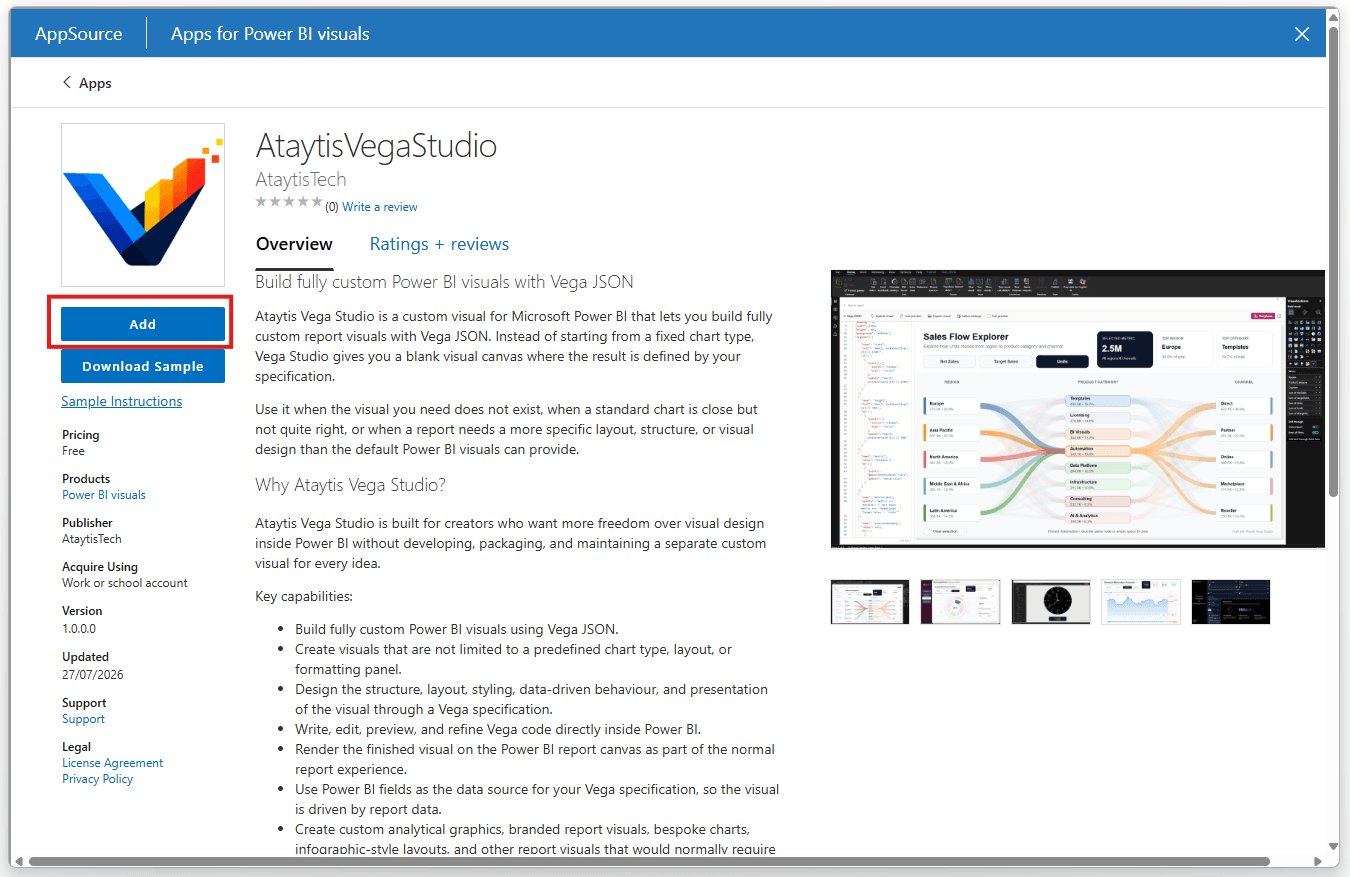
Enter the full product name and select the listing published by AtaytisTech. Review the listing details before adding it.
Add the visual
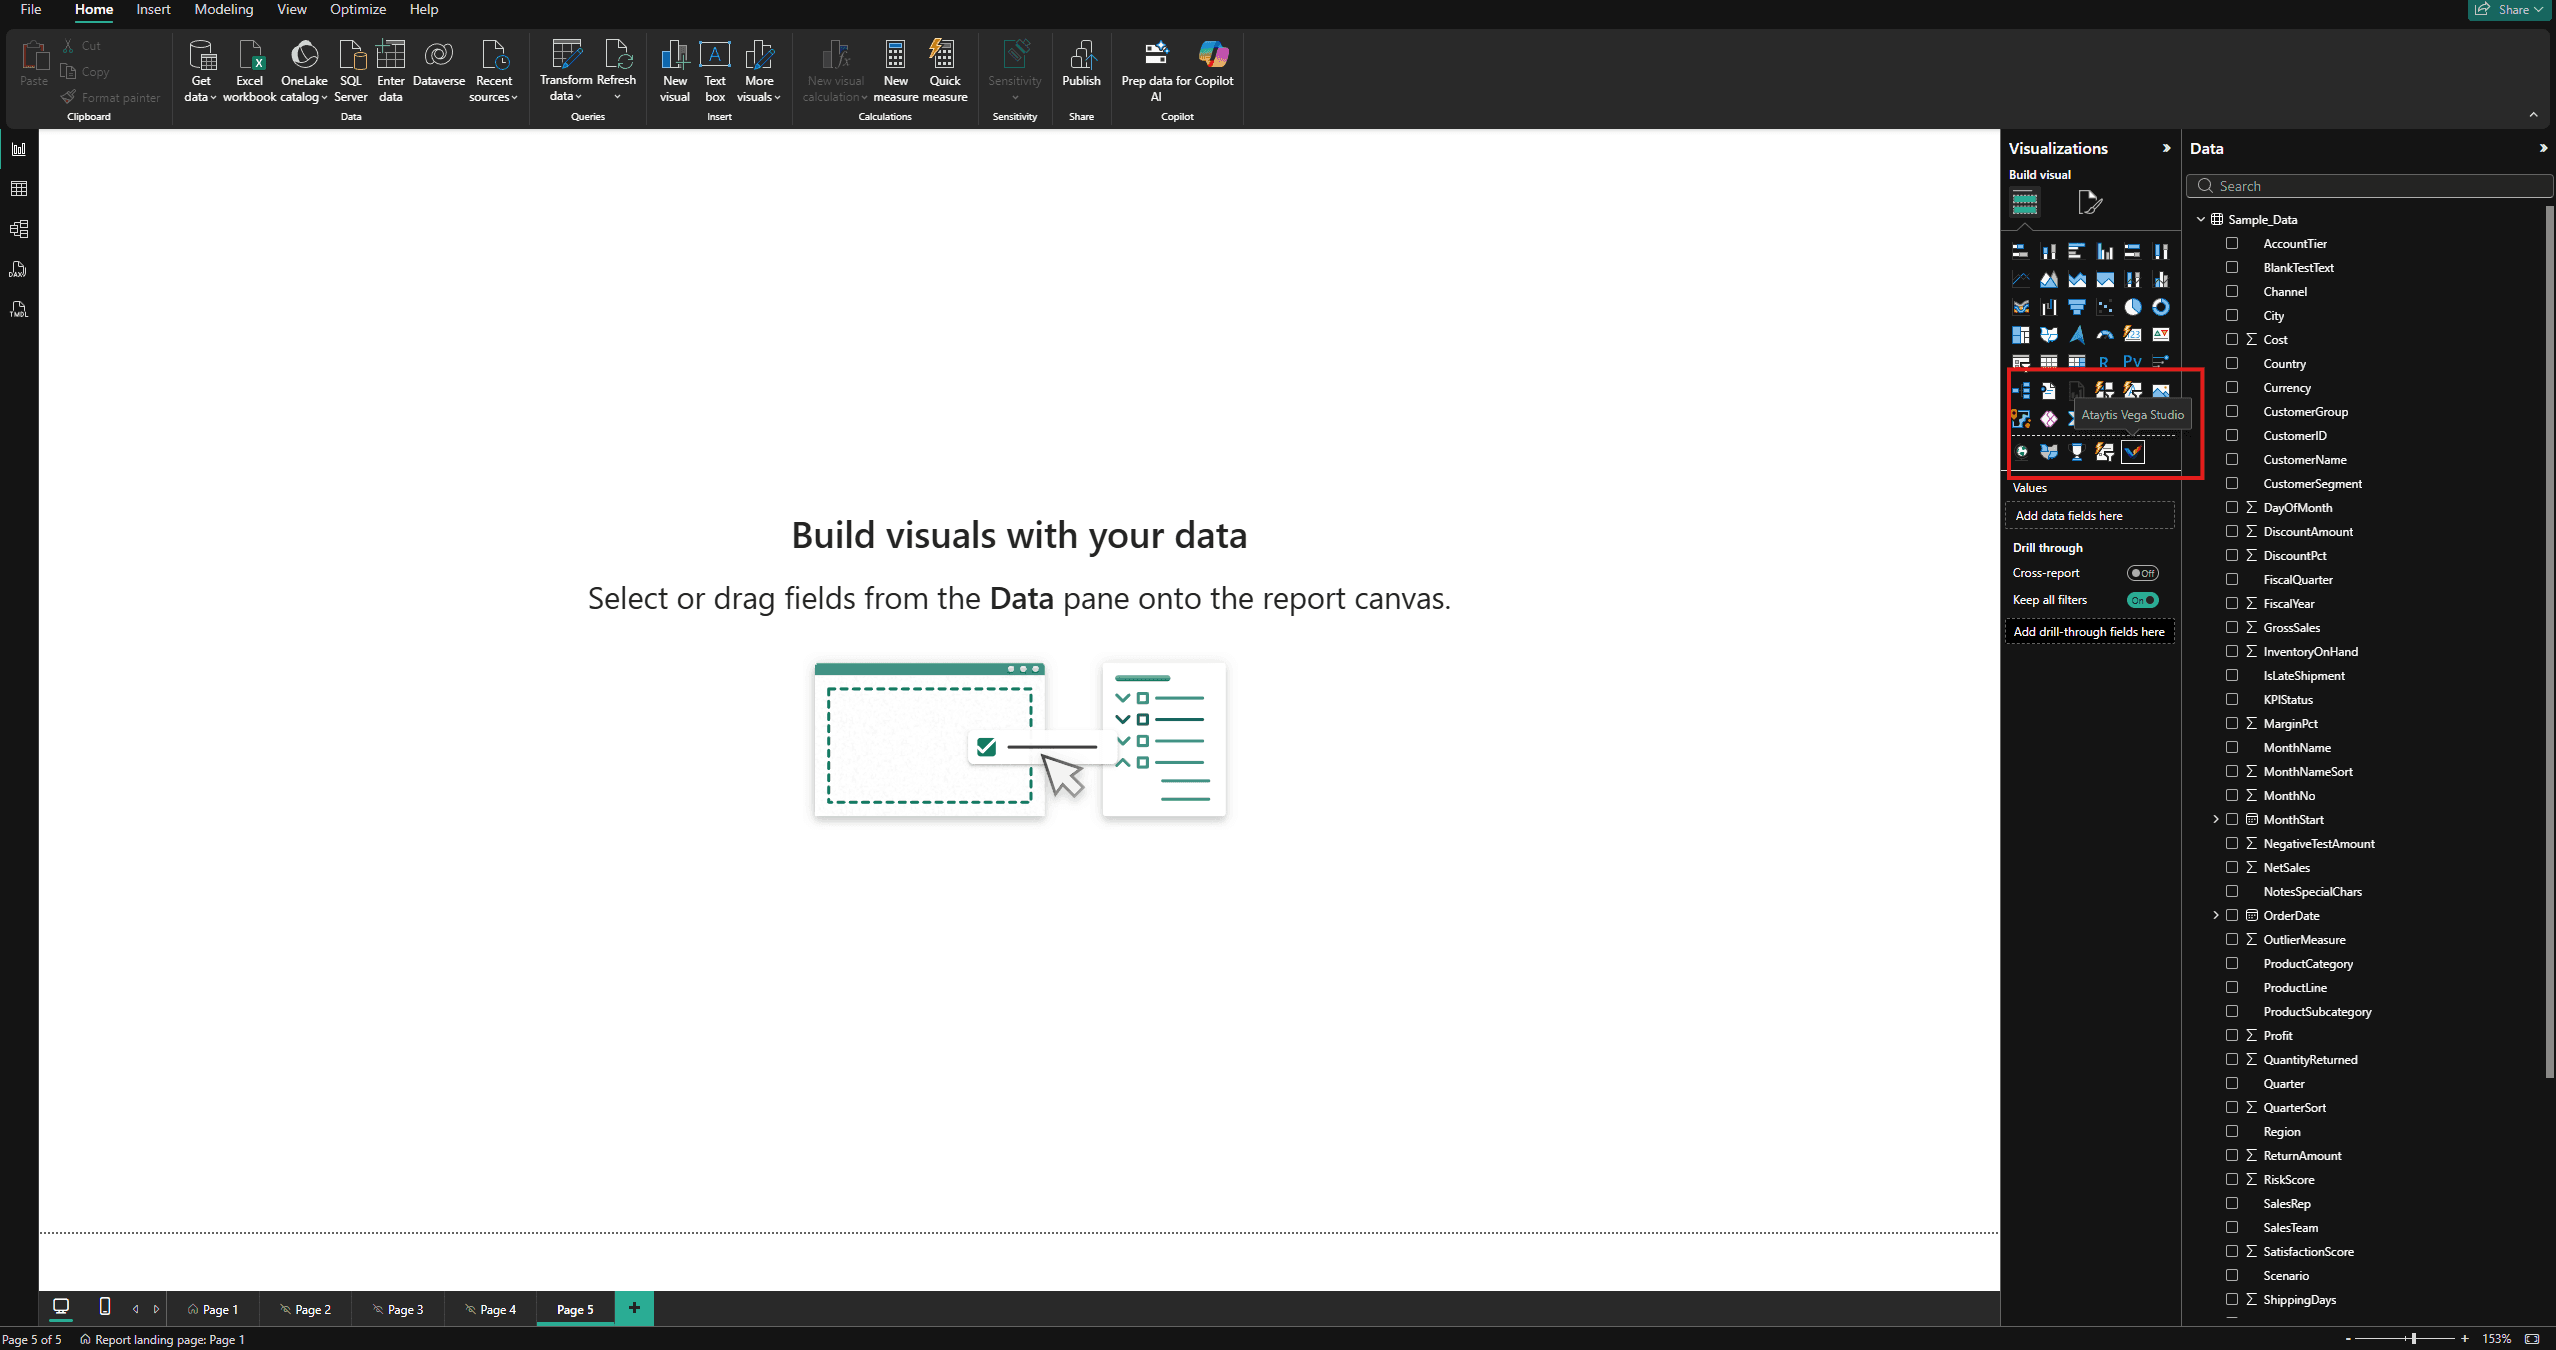
Choose Add or the equivalent installation action. Power BI will add the Ataytis Vega Studio icon to the Visualizations pane.
Save the report
Save the PBIX after adding the visual. Power BI stores the report's use of the visual with the report.
Organisation-managed deployment
Power BI administrators can make approved visuals easier to discover through organisational visual-management policies. If individual marketplace access is disabled, ask your Power BI administrator to review the Ataytis Vega Studio listing and make it available through your organisation's approved process.
Verify the installation
Select the Studio icon
With an editable report page open, select the Ataytis Vega Studio icon from the Visualizations pane.
Confirm a visual container appears
A new visual appears on the canvas with the Values field well available in the Visualizations pane.
Open the advanced editor
Use the visual's Edit or advanced-edit action. A successful installation opens the Ataytis Vega Studio authoring workspace.