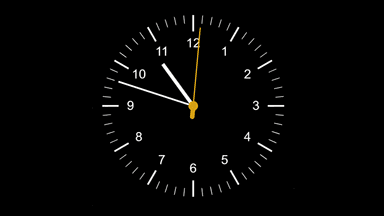
What is the Live Clock Gauge?
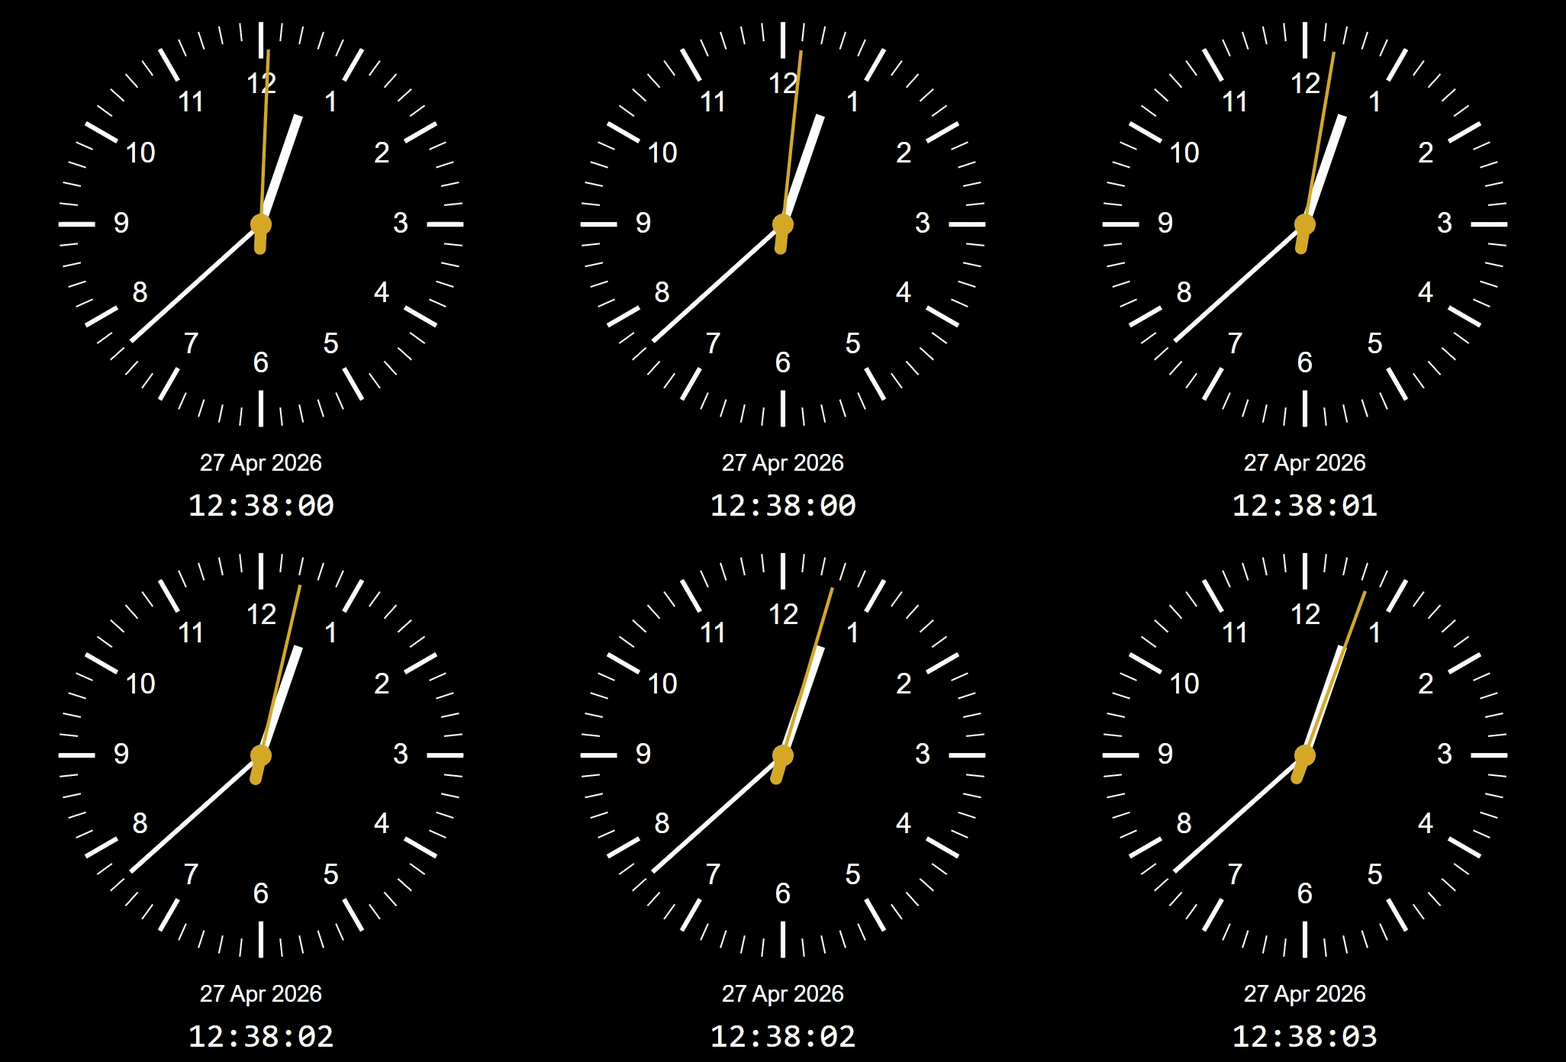
The Live Clock Gauge is an animated analogue clock visual for Power BI, built with Deneb and Vega. It reads the viewer's system clock in real time — the second hand sweeps continuously, the minute and hour hands update live.
The clock spec uses no data and no DAX — it drives itself from the system timer. You will need to add a dummy field to the Deneb visual to unlock the editor (any column will do, it is never read), but once the spec is pasted in you can remove it. From there, every part of it — colours, hand styles, timezone, labels, and more — can be adjusted directly on the product page using a live interactive preview before you ever touch the Deneb editor.
- Continuously updating — second hand sweeps in real time
- Fully customisable face, hands, ticks, numbers, and colours
- Optional timezone / UTC offset for multi-region dashboards
- Optional digital time overlay, date display, title, and subtitle
- No data required by the spec — driven entirely by the system clock
- Works in Power BI Desktop and Power BI Service
What You'll Need
You only need two things — both free before the visual itself:
Power BI Desktop
Any recent version — free from Microsoft
Deneb custom visual
Free from AppSource — one-time install, covered below
Installing Deneb in Power BI Desktop
Deneb is a free custom visual that lets you run Vega specs — like this clock — inside any Power BI report. You only install it once and it's available in every report you open from that point on.
- 1Open Power BI Desktop and open any report.
- 2In the Visualisations pane, click the three dots ··· and choose Get more visuals.
- 3Search for Deneb in the AppSource marketplace.
- 4Click Add — the Deneb icon now appears in your Visualisations pane permanently.
Watch: Add & Customise
The video below shows the complete process — pasting the spec into Deneb and customising the clock live inside the editor. It's a lot quicker in practice than it sounds.
Pasting and customising the Live Clock Gauge in the Deneb editor
Adding the Clock to Your Report
Once you have the spec from the product page, adding it to your report takes about a minute:
- 1Click the Deneb icon in the Visualisations pane to add a Deneb visual to your canvas.
- 2Resize it to the dimensions you want — the clock scales automatically to fill the space.
- 3Click Edit in the visual toolbar to open the Deneb editor.
- 4In the editor, select the Vega tab. Delete the placeholder spec that appears by default.
- 5Copy the JSON spec from the Live Clock Gauge product page and paste it in.
- 6Click Apply — the clock is live immediately.
Customising the Visual
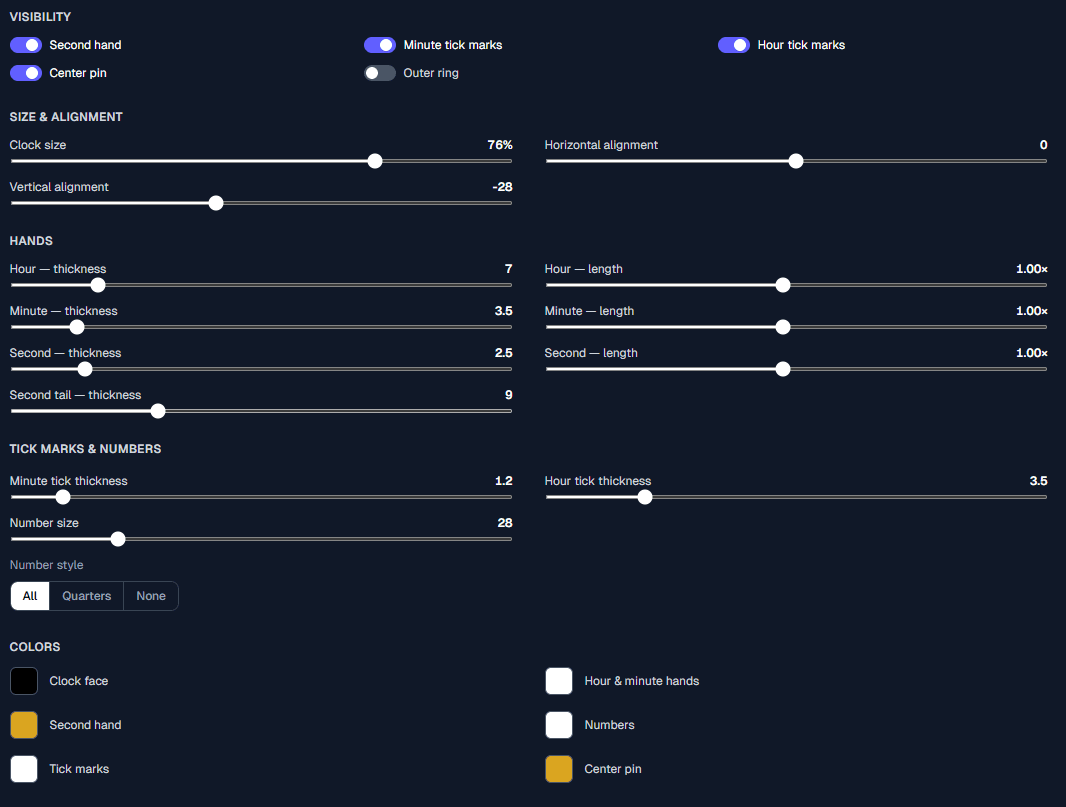
Everything about the clock is customisable — face colour, hand colour, second hand, tick marks, numbers, ring, and more. You can also enable optional extras like a digital time readout below the face, a date display, a title and subtitle, and a timezone label.
The easiest way to explore what's possible is through the live interactive preview on the product page. You can tweak every setting and see the result in real time before buying — no code required.
Visual style
- Face & hand colours
- Second hand on/off
- Tick mark style
- Outer ring
- Number display mode
Extra overlays
- Digital time readout
- Date display
- Title & subtitle
- Timezone label
Timezone
- Local time (default)
- Fixed UTC offset
- Per-city world clock setup
Layout
- Clock scale (fill %)
- Hand length per hand
- Offset from centre
Customisation panel — product page
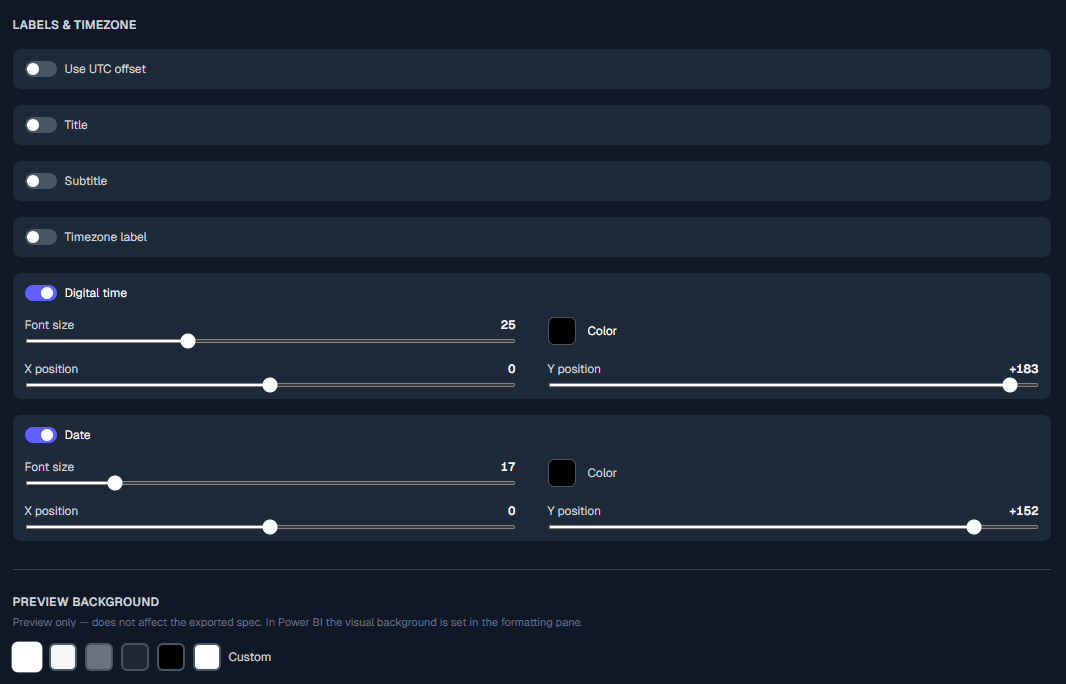
If you want to display a fixed timezone — for example always showing London time on a global operations board — the clock supports a UTC hour offset you can set in the spec. You can even put several clocks side by side with different offsets and city labels to build a world clock panel.
Using the Clock in Power BI Service
Once you publish your report, the clock works for any viewer in Power BI Service — no gateway, no scheduled refresh, no extra setup. It runs entirely in the viewer's browser and stays live as long as the report is open.
✓ Works with
- Power BI Pro
- Premium Per User (PPU)
- Premium capacity workspaces
✕ Not supported on
- Power BI free tier
- Publish to web (anonymous embed)
Ready to add it to your report?
Customise the clock live on the product page, then copy the spec straight into Deneb.
One-time purchase · Instant access · Use in unlimited reports